


Anne’s Review: Kudos for taking on and completing your ottoman despite the uncooperative staple gun and the detritus of foam debris—-you are a rock star!

Superior Quality?I struggled with deciding whether to sew the sides together first and then attach it to the top piece, or to sew each side to the top piece and then see if I could sew up the side seams to meet at the top. Making an ottoman from scratch is a home project I never thought I would be undertaking. You can buy them. Online, from Wayfair or Ikea or Amazon. I went looking.
Why is everything made in China? And why, for the price I would pay ($55 – $250), is it all so crappy looking? I had to wade through so many websites and columns of selections that I finally got weary enough to give up. That’s when the thought first struck me like a foul ball at a baseball game, painful but with a keep-able takeaway. If I’m going to settle for having crappy stuff, I might as well make it myself!
Since then, I have made similar decisions about making something instead of buying something. That little tray I want to place under the diminutive flower pots that will house some small plants? Paper Mache is just paper and glue and a little bit of paint and a little bit of mess. Once I settled for that creation, I reasoned that the plants could also be generated by my clever little hands. I was capable of making some semi-lovely flowering plants with paper and a video tutorial. I fired up the Pinterest app in search of such a learning experience and was exceedingly successful. I have for some time been storing a collection of specialty papers I hoarded after my many trips to Texas Art Supply, a large artist supply store dangerously close to my former home in Houston.
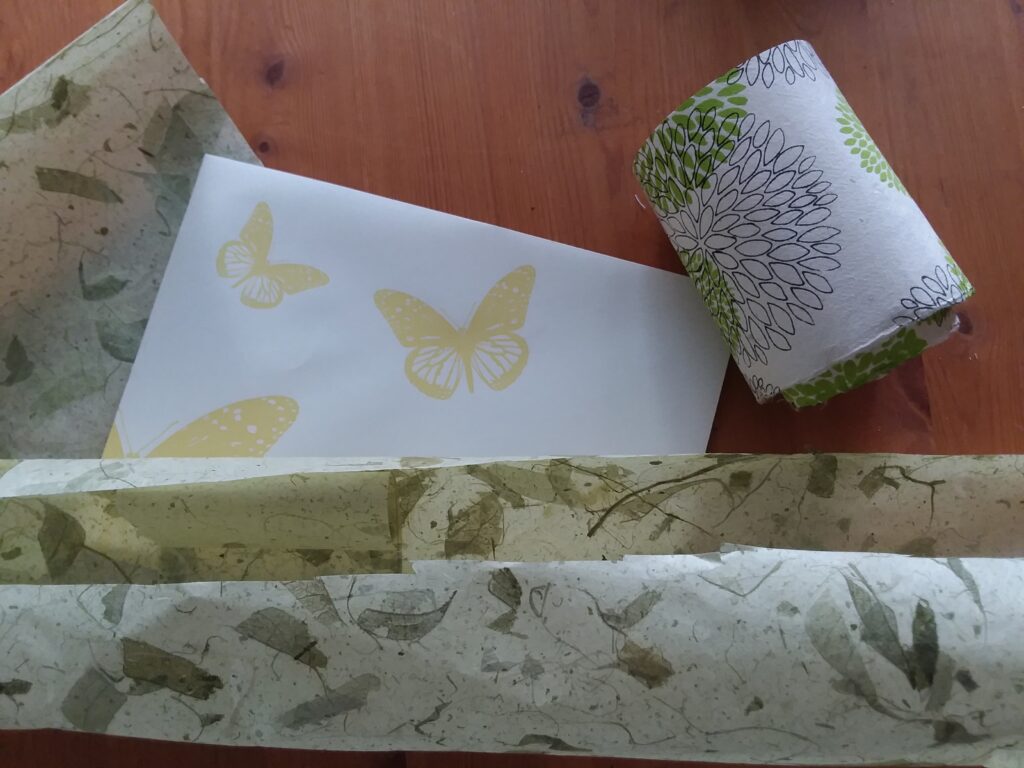
Paper fun!In addition to fabric, I also love unusual paper. I hauled nearly my entire cache of future-project materials from Houston via several size-large U-Haul moving boxes and, with hope and ambiguous plans, stored it all in the basement. The moment has arrived! I CAN MAKE ANYTHING! Except decisions. Will this fabric complement or clash with the couch? Can this un-washable paper stand up to dog hair and dust or should I choose a sturdier one? Being decisive is not my strong suit, especially if I have no professional guidance and have to rely on my own instincts, which have proven in the past to go either way. Success or failure. I found it best to give up caring how the damn thing was going to look and just go for it. Whatever will be will be. I will accept my product or leave it for the trash collectors. I deplore do-overs.
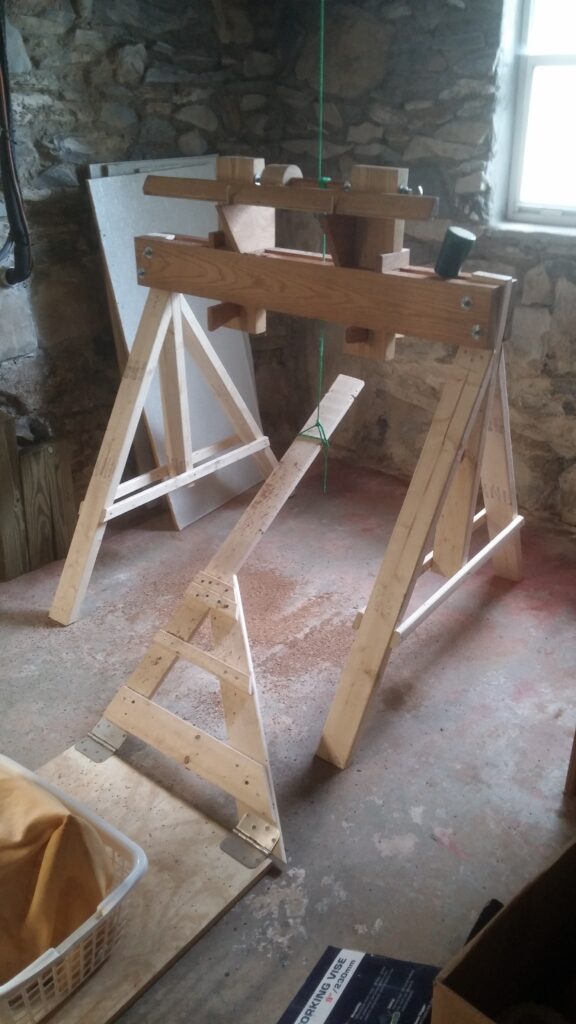
Hand-made latheI am fortunate to have a woodworker living with me who is the original DIYer. He made his own lathe. If you are not familiar with woodworking tools, a lathe is a machine that turns a piece of wood so that a cutting tool may be applied to it as it spins to carve out table legs, bowls and other roundish products. His lathe is based on colonial standards. That means it is human powered and spins when he steps on a board, attached to a cord, attached to a whatever. It makes a lot of noise and sawdust. And beautiful creations. Without the use of power tools, making furniture is more of a challenge, but one my guy is willing to take on if it’s a simple design and involves only one trip to the hardware store.
Tools of the DIYBack to the ottoman. I politely asked my woodworking man to build a frame for the ottoman. Specs were requested. Of course, I gave him the desired size of the finished product I wanted, without considering the foam and fabric going over it. Once I received the frame, and began the process of fleshing it out, it started resembling a chubby, waddling panda. I had ordered 2-inch foam, which, when surrounding the outside of the frame, added too much girth. It ultimately will need to fit in its designated space next to the fireplace (still in transition) and meld into my overall design scheme without being the proverbial elephant in the room.
In order to streamline this animal, I came to the conclusion I would have to split the foam into a 1-inch piece and staple it to the wood frame. I have most likely, seriously compromised my respiratory system by hacking apart that foam. I eventually grabbed one of my precious anti-virus masks and banned all other living beings from the room until I could finish the hatchet job on the roll of foam and vacuum up all the snowy bits. My guest room/workspace looked like a winter wonderland; an emphysema-inducing blizzard of white particles generated by a determined DIY nor’easter. And then the staple gun failed.
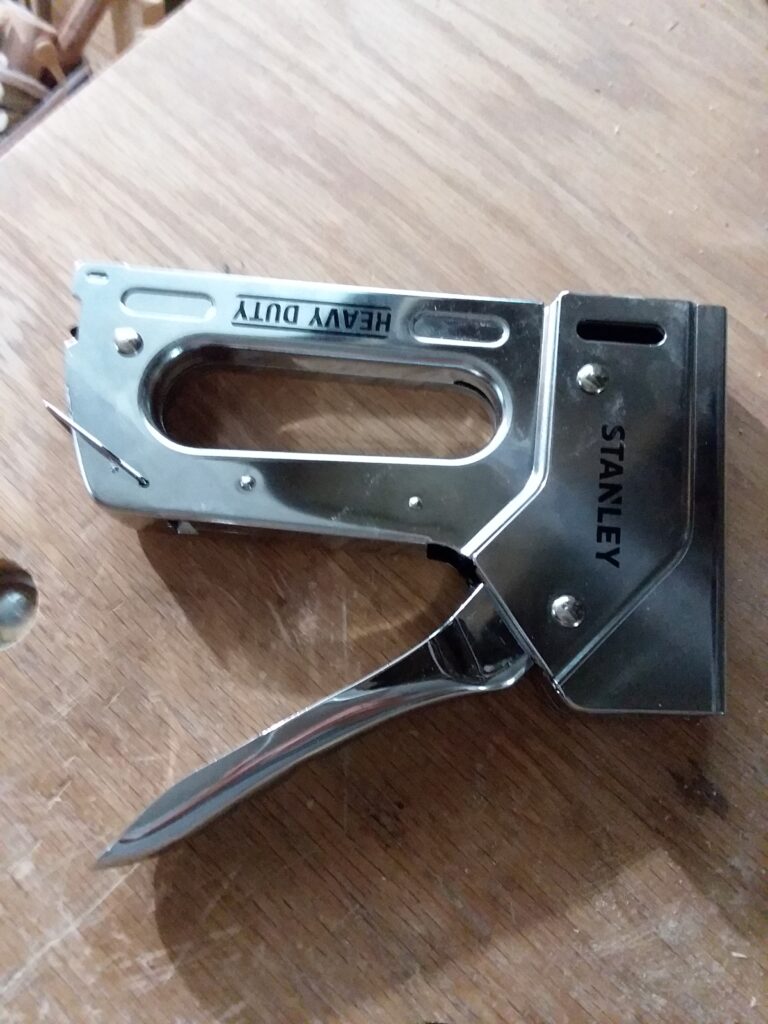
Bright shiny newThe apparatus made a lovely click, then delivered absolutely zero staples. This mishap launched a thorough investigation into the workings of the staple gun, the status of loaded staples and a lot of swearing. Eventually we concluded, what with all the parts of the gun littering the workbench, we could never reassemble it even to its former, non-operating configuration, thus a new staple gun would need to be purchased. In the meantime, I decided to use thumbtacks and glue. I had the tacks, but not the glue, or at least not any that did not resemble a white brick encased in a plastic container.
I settled for a bottle of Mod Podge. If you don’t know what Mod Podge is, I don’t know where you have been since 1967. You missed the creation of a modern miracle. It’s glue mixed with water and other mysterious, supposedly non-toxic stuff, which makes it perfect for those decoupage projects. It seals and protects anything you care to douse it with. I’m uncertain whether decoupaging as an art form still exists, but I always seem to have a bottle of it hanging around my art supplies. I used it on my ottoman for its adhesive quality to keep my foam in place, after which I forgot to put the lid back on, resulting in another addition to my white-bricks-in-plastic-containers collection.

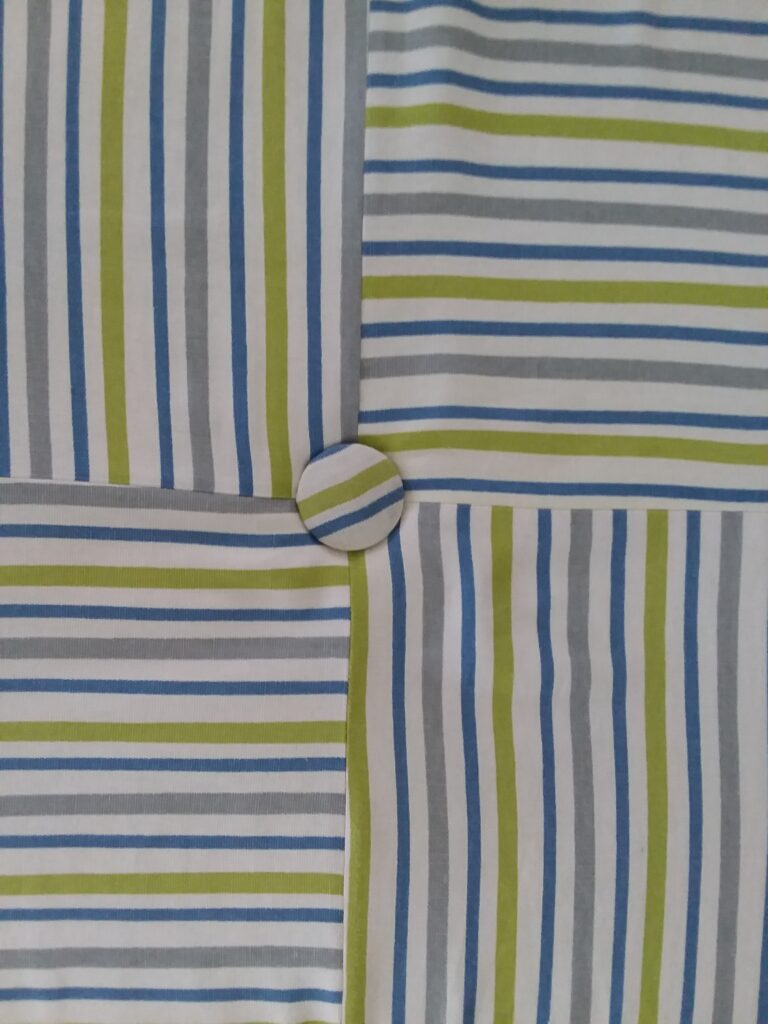
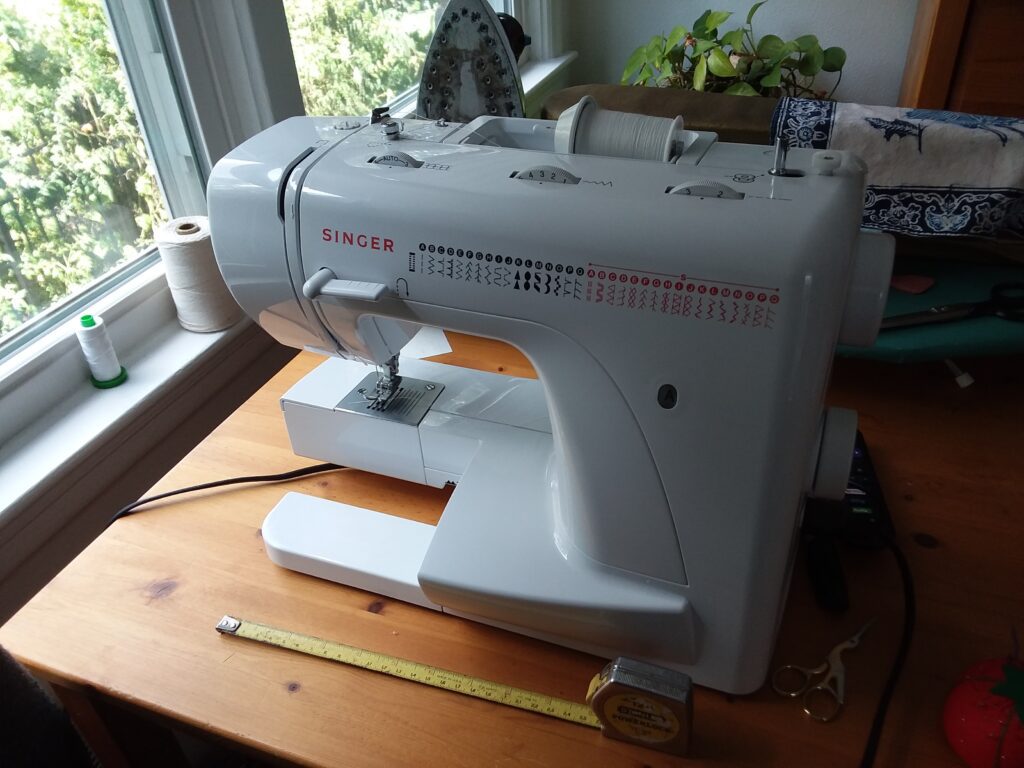
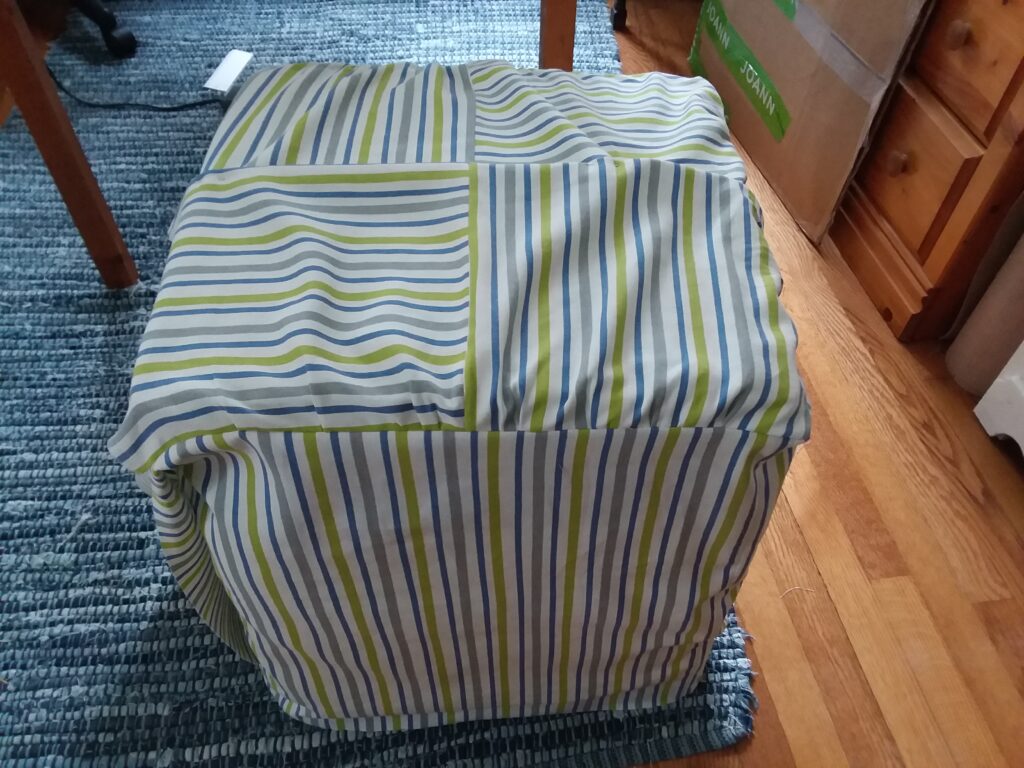
MidwayWith frame and foam in place, it was time to select some material from my fabric stash. I chose a length of striped cloth which complemented the colors in my living room without being garish and was long enough to accommodate the pudgy size of the ottoman. Just. The design of the cover was pretty straight forward, four sides and a top, until I realized my 15-inch frame was covered with 1 inch of foam and some multiplication calculations might be in order. Seamstresses know that an additional 5/8 inch of seam allowance needs to be considered for each seam connecting it all together, plus adding enough extra to wrap the fabric around to the bottom side for stapling to the underframe. After I took all this into consideration, I realized I would not have enough material to cover the top of the ottoman.
I searched through my eclectic collection of fabrics for a complimentary alternate. Nothing in the box made me happy. I measured my former choice several times and came to the conclusion that I could make it work! By magic or extra cuss words or sheer determination, I wanted that fabric on that ottoman and nothing else would satisfy me.
Grrrr...After carefully cutting out the sides, I concocted a herringbone pattern of scraps for the top. I was pleased with this outcome. I next dumped my bear jar full of buttons to find that perfect topping for my project. My chosen button looked like wood, which made me consider covering it with some of the fabric. So many decisions.
I opted for sewing the sides together and then sewing the top on to that squared configuration. My first attempt came out a bit blousy and puckered in odd places. I don’t usually mind a bit of puckering, but it needed to be more uniform. I finally took the whole thing apart and started over with the sew-the-sides-to-the-top-and-then-to-each-other scheme. I know, I know…no do overs, but I’d gotten too far to leave it as a heap of scraps in the corner. The new staple gun arrived in the mail, and I was back in business stapling and fussing over the whole process until it was finally completed.

Fits!Hopefully, the larger-than-we-wanted ottoman will hold up until you are able to visit the Hobbit House and put your feet up. If you look too closely at our finished product, we will be forced to divert your attention elsewhere. Might we interest you in a beer from the homebrewing facility downstairs?
Come on! You can make it,
Cheryl
Guest Editor Anne filled me in on the proper use of punctuation. She has proven that commas and hyphenated words are her bailiwick by interpreting my many made-up word-forms–a job which required much patience and forbearance.
Wow!! Well done! I want one or two! 🙂 can’t wait to use it!
Feet up with a home brew sounds divine – maybe this time next year if we’re lucky!
It’s here and ready for you!
“If I’m going to settle for having crappy stuff, I might as well make it myself!“
Just a moment of insight!